欧易
数字资产交易平台
主要面向全球用户提供比特币、莱特币、以太币等数字资产的币币和衍生品交易服务
保护区块安全
您的第一道安全防线
深受 5,000 万交易员信任,为超 29 万亿美元交易提供保障。欧易 Protect 为您构筑数字资产堡垒,确保资产安全无虞,让您高枕无忧。
5千万 交易员的选择
10年 零事故
29万亿 美元交易量
24小时 客服支持
由业内头部安全专家独立认证
保障每一笔交易、每一个钱包的安全

实时防护
全天候即时威胁监测

交易所
高级系统为每笔交易保驾护航

钱包
多层安全防线,让用户自行控制私钥
欧易可助力您
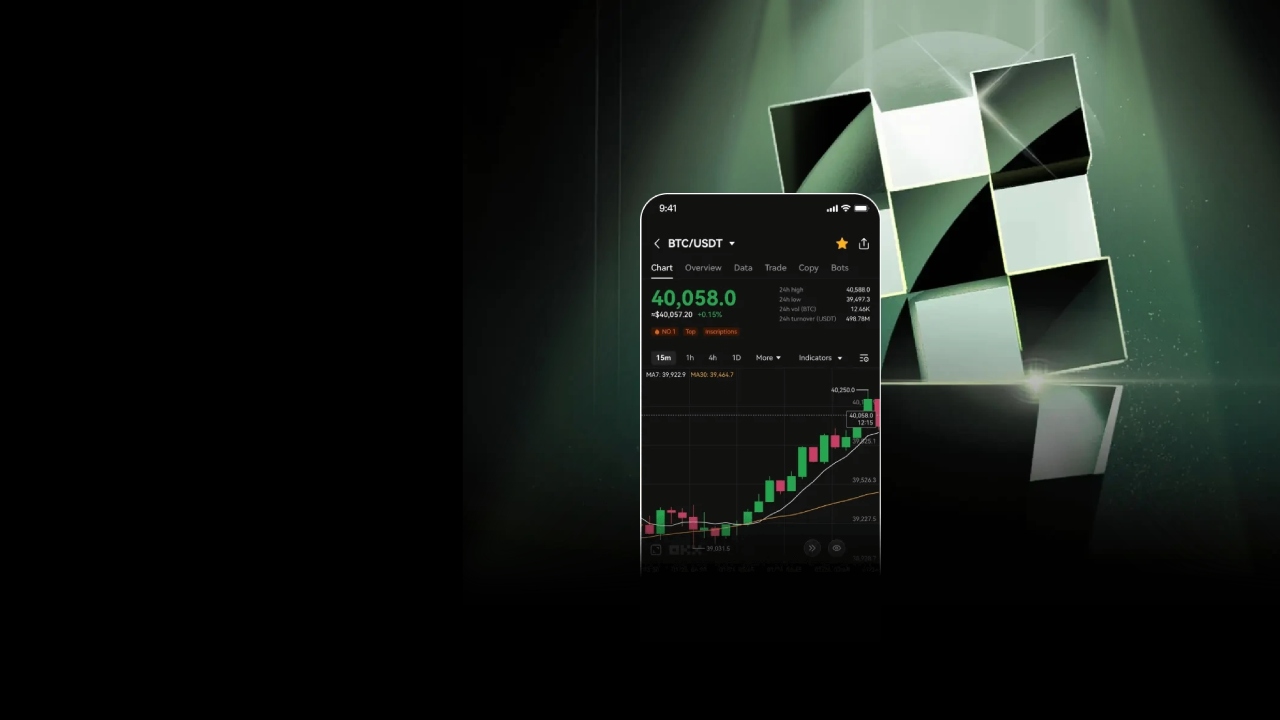
欧易都提供哪些产品

交易
我们为全球 180 多个地区的数百万用户提供数字货币交易服务。支持超过 700 个法币和数字货币交易对的现货、合约、期权等衍生品交易。
金融
赚取每日奖励,支持 USDT、USDC 及 ETH 等超过 100+ 种不同代币。高安全性交易平台,让您的数字资产安全无虞,收益更加可观。

WEB3 钱包
通过连接 Web3 钱包,管理您的 DeFi 投资组合,通过连接 Web3 钱包,您可以轻松管理全部去中心化资产。管理您的 DeFi 投资组合。
只需几步即可轻松购买数字货币

注册账号
访问欧易网站,并注册属于您的欧易账号

验证身份
登录后上传有效证件,进行个人实名认证

买入数字货币
首页-买币页面一键买币,支付后等待放币

什么是数字货币?
数字货币是采用密码学原理来确保交易安全及控制交易单位创造的交易媒介,也被称为数字货币或虚拟币。与美元或其他法定货币不同,数字货币并不以实物的形式存在,是通过具有构建去中心化账本功能的区块链技术衍生的带有去中心化特点的数字资产。
每一笔数字货币的交易都会被如实记录在区块链中,一旦确认交易及通过验证,即为不可逆。这也就意味着数字货币交易不可逆转、不可篡改。
目前,全球金融机构及互联网企业对数字货币的投资正在大幅增长,证明了数字货币的潜力和未来。同时,投资数字货币不仅是进入具有未来主导地位的去中心化金融领域的最有效途径,同时也是对正在广泛普及的区块链等前沿技术的参与。


常见问题
欧易都提供哪些产品?
欧易是一家致力于创新的数字货币交易所。我们为全球 180 多个地区的数百万用户提供前沿的数字货币交易服务。
欧易可助力您:
交易数百种数字货币和交易对。
通过连接 Web3 钱包,管理您的 DeFi 投资组合,通过连接 Web3 钱包,您可以轻松管理全部去中心化资产。管理您的 DeFi 投资组合。
在欧易的 NFT 市场上创建和交易 NFT。
探索绝佳的去中心化应用,包括 DeFi 和区块链游戏 DApps。
借助欧易 App 或浏览器插件无缝连接到 DeFi。
连接世界知名的 TradingView 平台,利用他们的超强图表来直接进行虚拟货币交易。
如何通过欧易平台购买比特币?
如何通过欧易平台购买比特币?用户可使用英镑、欧元、美元或当地货币轻松快捷地购买比特币。欧易支持各种常用的支付方式,包括 Visa、Mastercard 和 ApplePay 信用卡。 想要快速入门,请查看欧易的最新指南,了解如何在欧易平台上购买比特币。想买卖或持有数字货币生态系统中行情喜人的其他币种吗?探索比特币 (BTC)、以太坊 (ETH) 等数字货币的价格和其他信息,今天就踏上你的数字货币之旅!
什么是活期简单赚币?
简单赚币是欧易打造的一款帮助有闲置数字资产用户进行低门槛赚币的产品,入门简单,并提供活期和定期两种选择。
$37+万亿
平台总交易额
$250+亿
平台资产
$1060+亿
单日交易峰值
5000万+
全球用户总数
从数字货币交易初体验到第一次购买 NFT,欧易将助您轻松赚币
您数字货币之旅的得力助手
官方中文社交媒体
欧易新闻社区
-
2024稳定币新叙事:明确的监管 传统金融的入局 链上链下同步开花
2024稳定币新叙事:明确的监管 传统金融的入局 链上链下同步开花 Jessy,金色财经 2024年,世界上一 […]
-
「黑暗森林」穿越手册 | 详解「观察钱包」新型陷阱下的防盗指南
「黑暗森林」穿越手册 | 详解「观察钱包」新型陷阱下的防盗指南 「黑暗森林」,这个脱胎于《三体》的宇宙社会学法 […]
-
兵家必争之地——稳定币
兵家必争之地——稳定币 原文作者: YBB Capital Researcher Zeke 前言 据 Coi […]
-
2024 年影响加密发展的 10 大叙事
2024 年影响加密发展的 10 大叙事 作者:Lorena Nessi 翻译:白话区块链 2024 年对加密 […]
-
MicroStrategy距离纳斯达克100指数仅一步之遥?
MicroStrategy距离纳斯达克100指数仅一步之遥? 原文作者: 1912212.eth,Foresi […]
-
共识之迷:一文读懂比特币升级社区进展
共识之迷:一文读懂比特币升级社区进展 作者:kevin He,Bitlayer 联合创始人 前言 关于比特币下 […]
-
Delphi Digital 2025展望:假如历史重演,BTC将上破175000美元
Delphi Digital 2025展望:假如历史重演,BTC将上破175000美元 原文作者:Delphi […]
-
入狱的第 720 天 SBF 想念自己的小熊枕头
入狱的第 720 天 SBF 想念自己的小熊枕头 作者:Jaleel 加六 「What the actual […]
-
Hyperliquid 空投模式解析 为什么「先产品后代币」的模式能赢?
Hyperliquid 空投模式解析 为什么「先产品后代币」的模式能赢? 作者:kaledora 编译:深潮T […]
-
金色图览 | 周期强势代币一览
金色图览 | 周期强势代币一览 查看更多
欧易跨链桥聚合器为你在所有主流跨链桥之间获取最优价格,满足你的一切跨链需求
超过 60 条网络,触达无限新用户